Step 1 - Prepare an application for right-to-left locales
In this step of the tutorial you learn how to prepare an already localized application for right-to-left locales. In the next steps you set the layout and use the Kanzi Engine API to instantiate the correct prefabs based on the selected locale.
Assets for the tutorial
The assets you use in this tutorial are stored in the <KanziWorkspace>/Tutorials/Localization RTL/Assets directory:
- Fonts directory contains the fonts that include the Arabic and Hebrew glyphs.
- Images directory contains the images that you use for the right-to-left locales.
- Text directory contains the .po files that contain the translated text content of the starting point project.
The <KanziWorkspace>/Tutorials/Localization RTL/Completed directory contains the completed application of this tutorial.
The starting point of this tutorial is the Localization.kzproj Kanzi Studio project file stored in the <KanziWorkspace>/Tutorials/Localization/Completed/Tool_project directory. The project contains the content you need to complete this tutorial:
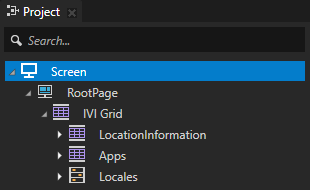
- Grid Layout 2D node named IVI Grid positions the application user interface elements. When you adjust the layout for the right-to-left locales, the grid layouts in the IVI Grid enable you to smoothly move elements between rows and columns keeping their absolute positions.
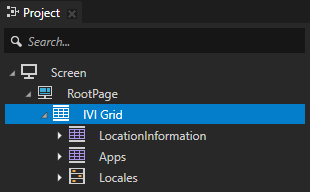
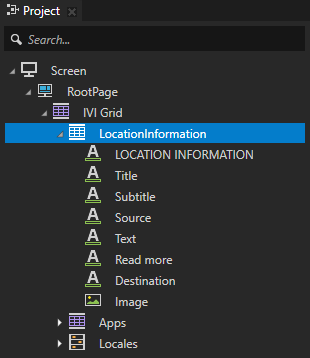
- Grid Layout 2D node named LocationInformation contains and positions the application content.
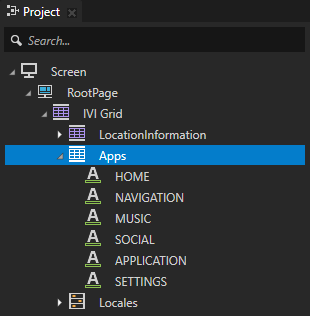
- Grid Layout 2D node named Apps contains and positions the application names shown at the bottom of the application user interface.
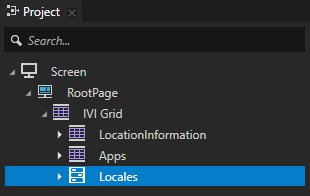
- Toggle Button Group 2D named Locales contains the button nodes to change locales.
- Stack Layout 2D node named LocaleSelector contains the buttons for the locales created in Kanzi Studio.
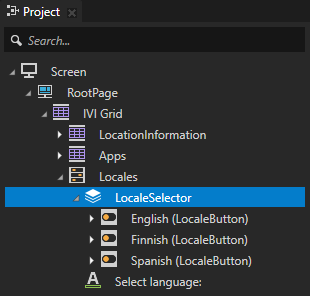
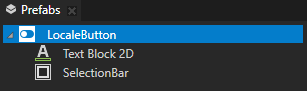
- LocaleButton prefab represents each locale button instance created in Kanzi Studio and the additional locales loaded using the Kanzi Engine API.
Create prefabs for the left-to-right and right-to-left layouts
In this section you create prefabs from the LocaleSelector and IVI Grid nodes. You use the LocaleSelector prefab to position the locale buttons and the IVI Grid prefabs to set the correct layout for the selected locale. In the next step you change these prefabs so that they correctly position the application user interface elements for left-to-right or right-to-left locales.
To create prefabs for the left-to-right and right-to-left layouts:
- Open the completed Localization tutorial project located in <KanziWorkspace>/Tutorials/Localization/Completed/Tool_project.
- Prepare the LocaleSelector node to use it as a prefab to position the locale buttons:
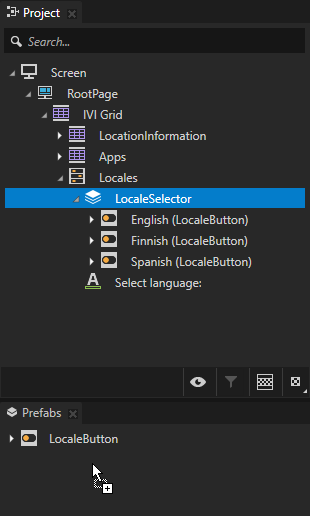
- From the Project > IVI Grid > Locales drag the LocaleSelector node to the Prefabs to create a prefab.
When you drop a node into the Prefabs window, Kanzi Studio creates a prefab template from the node and replaces the original node with an instance of the prefab.
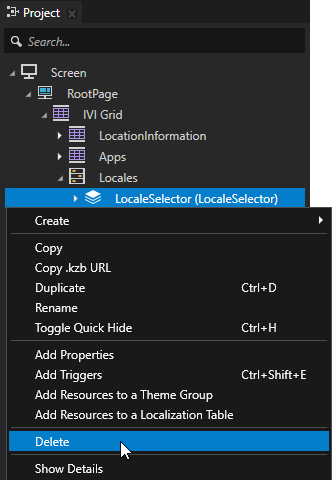
- In the Project > IVI Grid > Locales delete the LocaleSelector node.
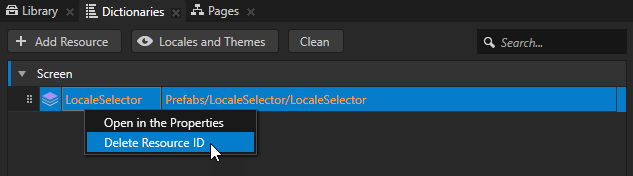
- In the Project select the Screen and in the Dictionaries delete the LocaleSelector alias.
Because you use the Kanzi Engine API to set the layout for each locale, you do not need this alias anymore.
- Create the prefabs for the left-to-right and right-to-left locale layouts:
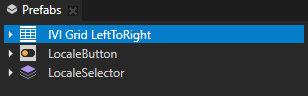
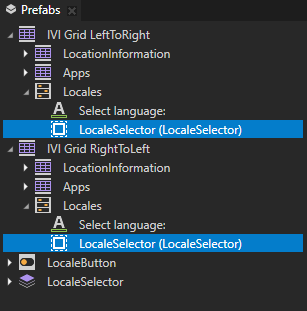
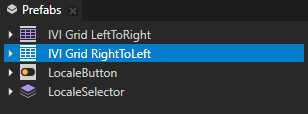
- From the Project drag the IVI Grid node to the Prefabs, and name it IVI Grid LeftToRight.
You use the IVI Grid LeftToRight prefab for the left-to-right locales.
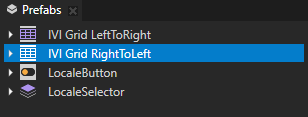
- In the Prefabs select the IVI Grid LeftToRight node, press Ctrl D to duplicate the node and rename it to IVI Grid RightToLeft.
You use the IVI Grid RightToLeft prefab for the right-to-left locales.
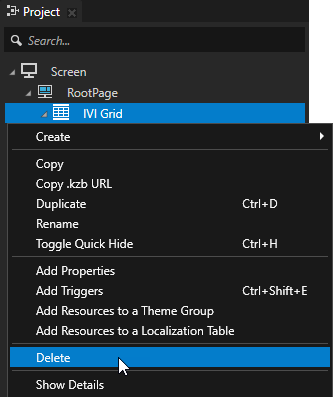
- In the Project > RootPage right-click the IVI Grid node, and select Delete.
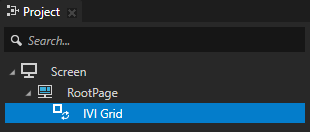
- In the Project press Alt and right-click the RootPage, create a Prefab View 2D node, and name it IVI Grid.
You use the Prefab View 2D node to instantiate the IVI Grid LeftToRight and IVI Grid RightToLeft prefabs for the locales.

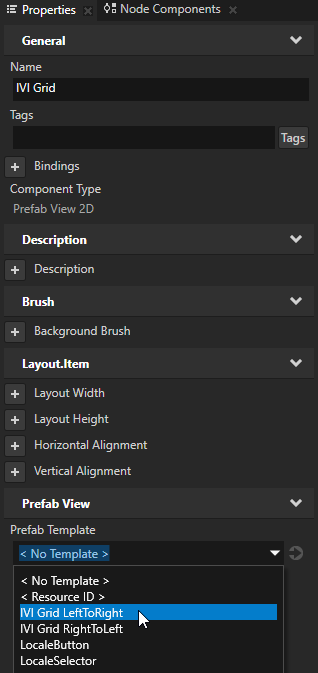
- Select the IVI Grid Prefab View 2D node, and in the Properties add and set the Prefab Template property to IVI Grid LeftToRight.
When you instantiate a prefab with a Prefab View node, Kanzi reads the value of the Prefab Template property and adds the prefab to which that property points as a child node of the Prefab View node.
- In the Prefabs drag the LocaleSelector prefab to the IVI Grid LeftToRight > Locales node to create a prefab placeholder.
You use the LocaleSelector prefab placeholder to instantiate the LocaleSelector for the left-to-right and right-to-left locales.
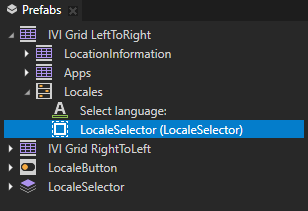
- Repeat the previous step for the IVI Grid RightToLeft node to create a prefab placeholder for the LocaleSelector node.
In the Preview when you click the locale buttons, you cannot see the switch between locales. You can see the locale switch when you run the application in the last step of this tutorial.
Import the .po files for the right-to-left locales
In this section you import the .po files which contain the translated text for the Arabic and Hebrew locales.
To import the .po files for the right-to-left locales:
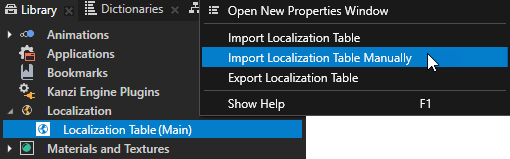
- In the Library > Localization right-click the Localization Table (Main) localization table, select Import Localization Table Manually, go to <KanziWorkspace>/Tutorials/Localization RTL/Assets/Text, and import the ar-AR.po and he-HE.po files that contain the text strings for the Arabic and Hebrew locales.
Kanzi Studio creates locales specified in the .po files and adds the translations from the .po files to the localization table.
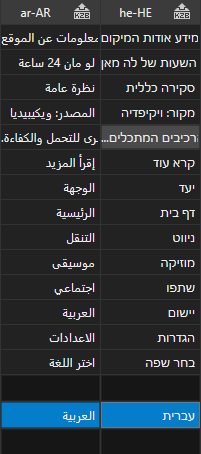
- In the Library > Localization double-click the Localization Table (Main) and in the Localization Editor set the LocaleDisplayName for Arabic to العربية and for Hebrew to עברית.
LocaleDisplayName is a text resource which sets the locale name displayed in the application user interface.
Set images used by the right-to-left locales
In this section you create a texture brush for the application background image used by the right-to-left locales and set the images you use with those locales.
To set images used by the right-to-left locales:
- In the Assets click Import Assets and import all images from <KanziWorkspace>/Tutorials/Localization RTL/Assets/Images.
You import the images you use for the Arabic and Hebrew locales and the application background image for the right-to-left locales. When you import an image, Kanzi Studio creates a texture from the imported image.

- In the Library > Materials and Textures press Alt and right-click Brushes, select Texture Brush, and name it Background RightToLeft.
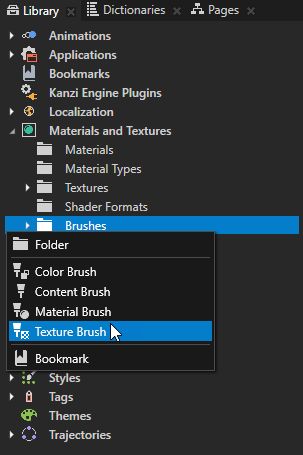
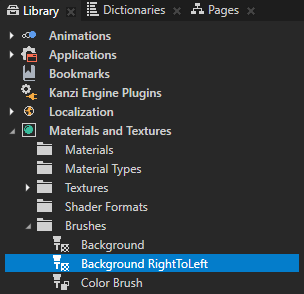
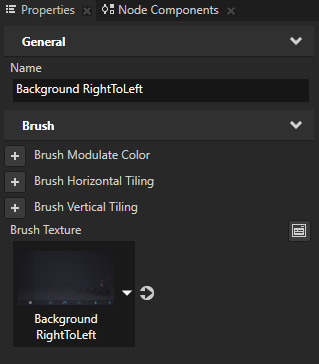
- In the Library select the Background RightToLeft brush and in the Properties set the Brush Texture to the Background RightToLeft texture.
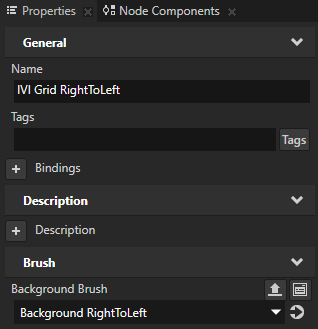
- In the Prefabs select the IVI Grid RightToLeft prefab and in the Properties set the Background Brush to Background RightToLeft.
The Background RightToLeft background brush sets the application background image for the right-to-left locales.
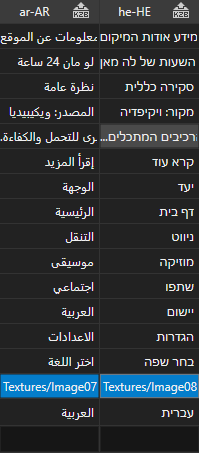
- In the Localization Editor set the Image for the Arabic locale to Image07 and for Hebrew to Image08.
You set the images displayed in the application user interface for the Arabic and Hebrew locales.
Create styles for the right-to-left locales
In this section you import fonts that contain the Arabic and Hebrew glyphs and create styles that set the font and text alignment for those locales.
To create styles for the right-to-left locales:
- Select > > Import Fonts and from <KanziWorkspace>/Tutorials/Localization RTL/Assets/Fonts import the fonts that include the Arabic and Hebrew glyphs. See Importing fonts.
Import the notonaskharabic-regular.ttf for Arabic and the notosanshebrew-regular.ttf for Hebrew.

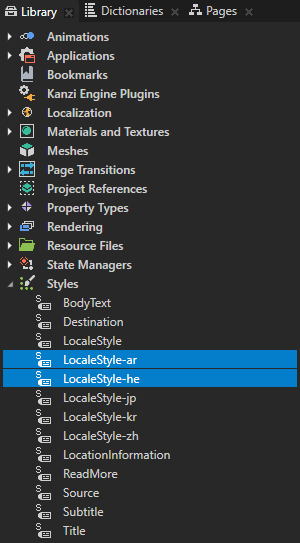
- In the Library > Styles select the LocaleStyle, press Ctrl D twice to duplicate it twice, and name the styles after the locale where you use each style.
For example, name the style for the Arabic locale LocaleStyle-ar and the style for the Hebrew LocaleStyle-he.
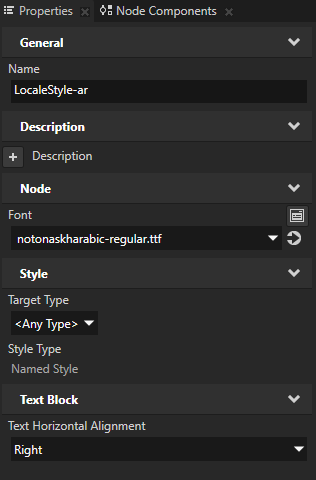
- Select the LocaleStyle-ar and in the Properties add and set:
- Font to notonaskharabic-regular.ttf
- Text Horizontal Alignment to Right
You use this style for the Arabic locale to set the correct font and text alignment.
- Repeat the previous step for the LocaleStyle-he but set the Font property to notosanshebrew-regular.ttf.

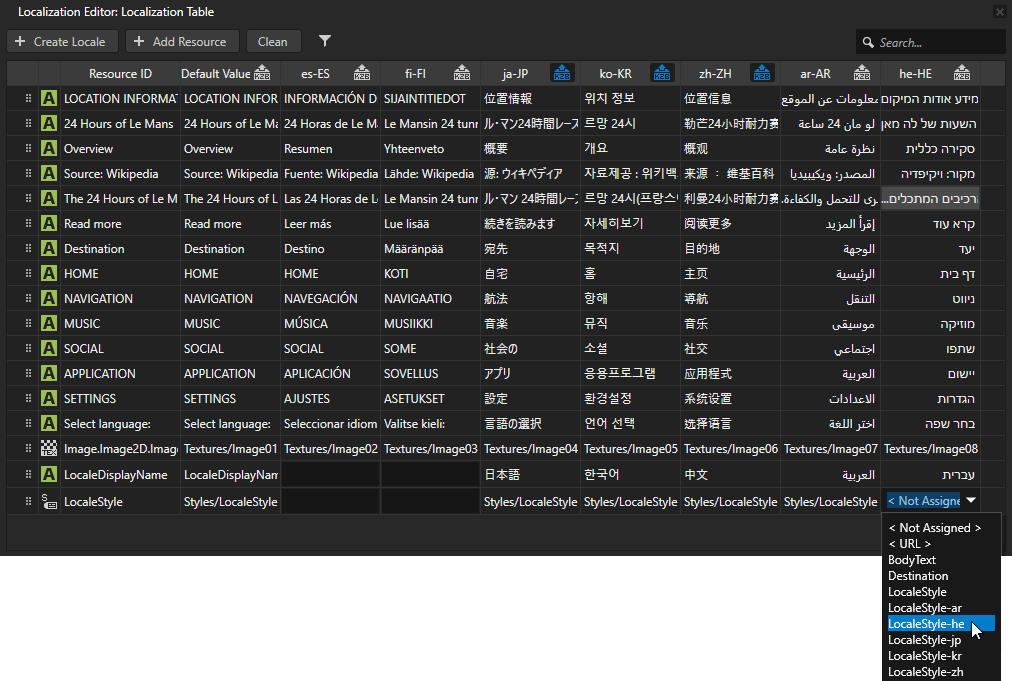
- In the Localization Table in the column for each locale where you want to apply the styles you created, double-click the LocaleStyle cell and set:
- Arabic set LocaleStyle-ar
- Hebrew set LocaleStyle-he
< INTRODUCTION
NEXT STEP >
See also
Tutorial: Localize your application
Localizing applications
Using styles
Using prefabs

Open topic with navigation